
Today I have a very long (and photo heavy tutorial on how to sew up my kitty loaf fabric which you can find at
Spoonflower here.
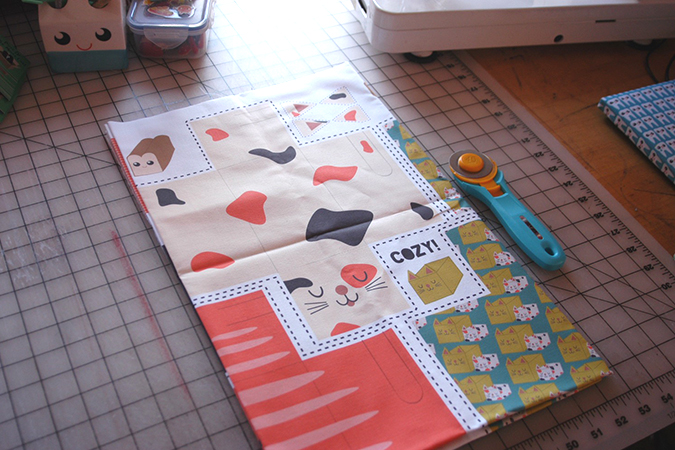
I had my fabric printed on the Kona cotton. The fabric comes with one large cat, and three small ones.
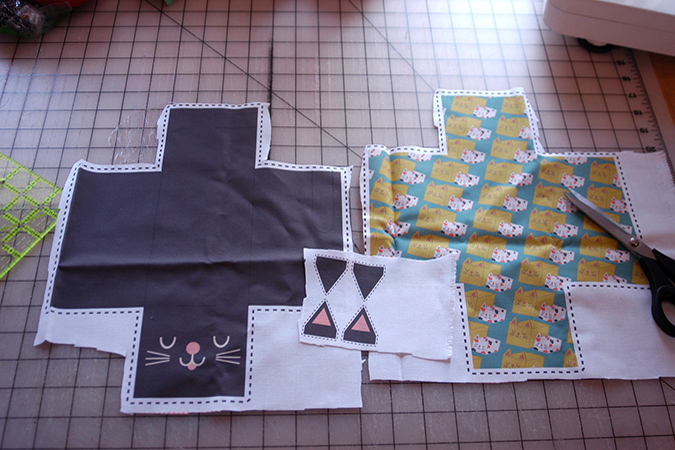
First cut out all 3 sections for one cat. In this case I cut out the gray cat, one small inner fabric, and the gray cat’s ears. You want to iron some medium weight interfacing. I iron the interfacing onto one side. I ironed it to the inner fabric and the back sides of the ears. If you iron it on all sides I find it gets too stiff and a little bit more difficult to work with when turning those tiny ears.
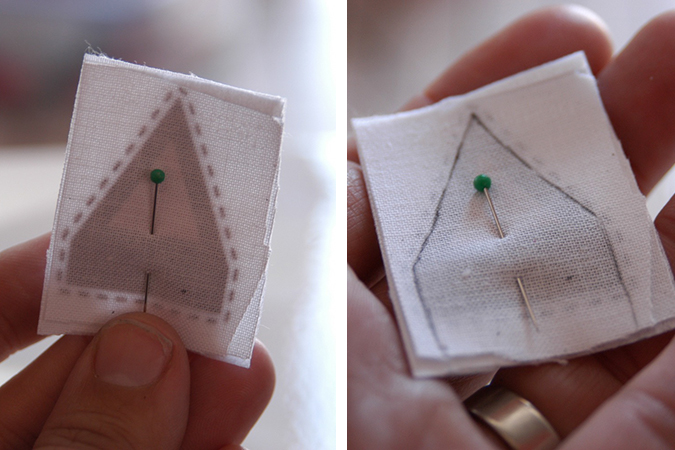
First we sew up the ears. If you hold both sides of an ear up to a light or window you will see you can see through the fabric pretty easily, even with the interfacing on one side. Pin the fabric in place and then I like to use a pencil to mark the very edge of the fabric design. You can use a fabric marker that washes off, but I had a pencil on hand so its what I like to just use. This makes it really easy to sew right inside that pencil line to make sure you don’t have any white areas showing up once you turn your ears right side out. Once sewn, trim away the excess fabric (except for the extra fabric at the bottom that helps with turning and lining up the ears later) and turn the ears. The ears are small so I’ve found a knitting needle or small tweezers to be a big help! Once turned I like the iron the ears flat.


Now you might notice that the kitty face has some dotted lines along the top. Cut one slit on either side to give you a place to slide your ears in.
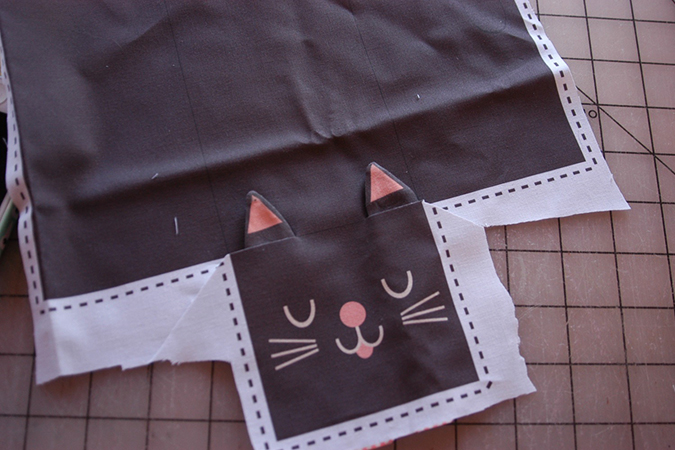
Slide your ears in place to test them out. You’ll want the ears lined up to the center as close as possible, not the edge of the head.
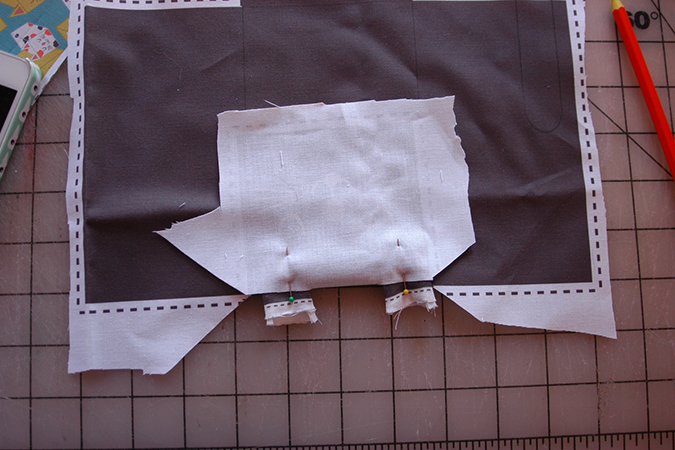
Now flip the head up and pin the ears in place, taking care that any unprinted excess fabric is below that fold so once you sew the ears in place you will only see the printed fabric. Sew across each ear, or if you find it easier sew across the entire line from one ear to the other across the top of the head.
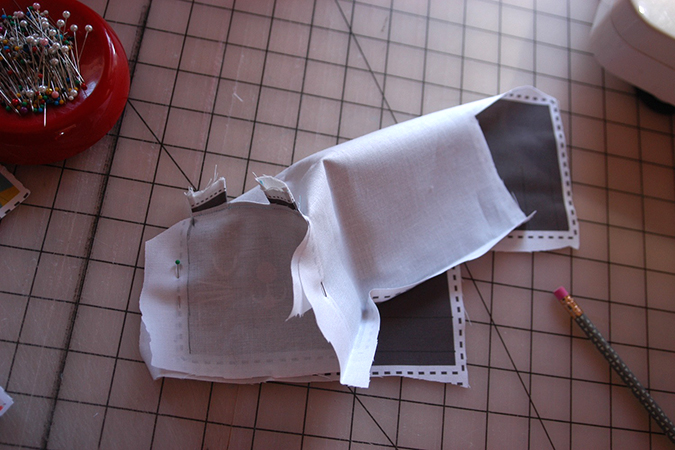
Now that your ears are in place its time to line up each side of the head. Again I hold mine up to a light or window so I can see the edges of the fabric, pin in place, and then use a pencil to trace that fabric line. Then simply stitch up each side of the head.
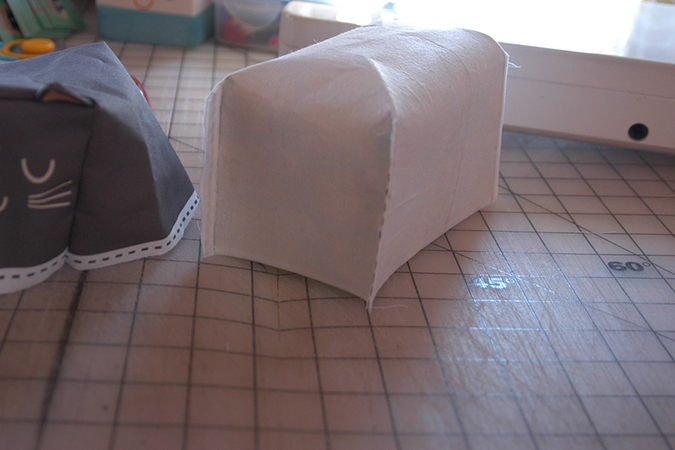
You’ll do the same with the back two areas to form a rectangle kitty loaf.
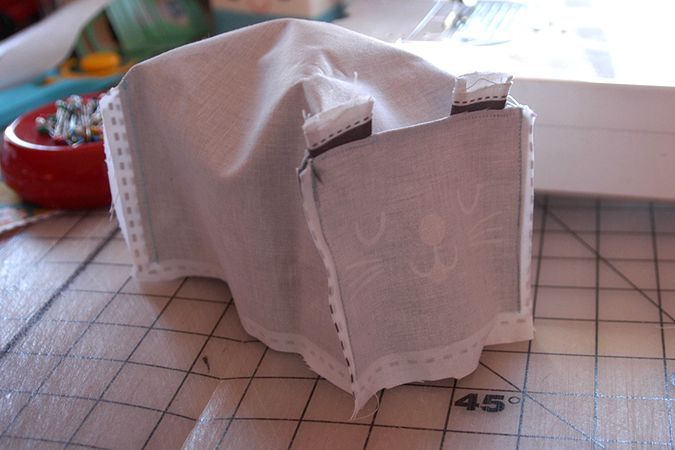
 Turn it right side out and make sure there are no white areas peeking through.
The inside fabric is sewn the exact same way except you don’t have to worry about ears. You just sew up each of the sides. But don’t turn this one right side out.
 Put your sewn inside fabric into your kitty.
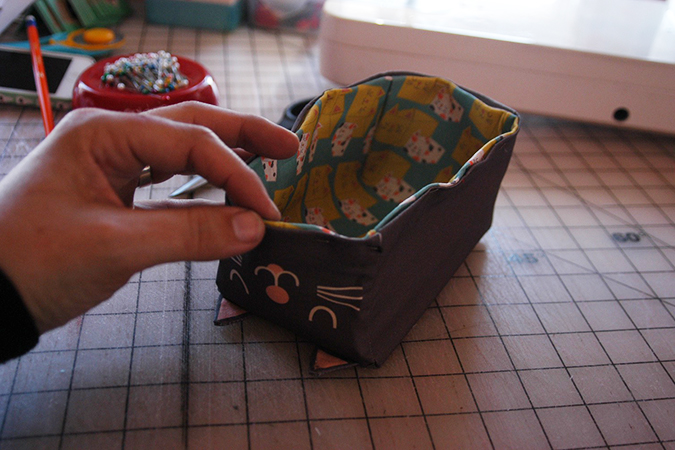
Slowly turn under both ends and pin them in place. This can then be hand stitched, machine stitched around the entire edge using a thread that matches your cat, or you can even use fabric glue or iron on tape to secure it in place.

Alternatively you could add a band of elastic to help hold a loaf of bread in, but this step is optional. If you do simply pin the elastic in place and then sew around the entire edge.

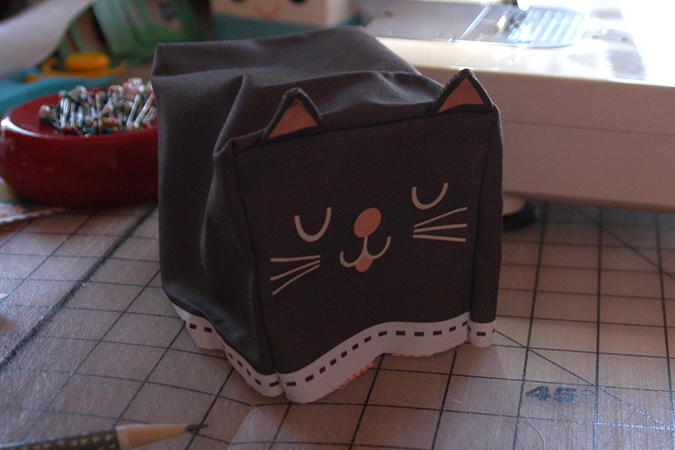
Once your cat is sewn you can move onto the next one. These kitties were designed to cover a loaf of bread, but the pattern can be used for many other things!
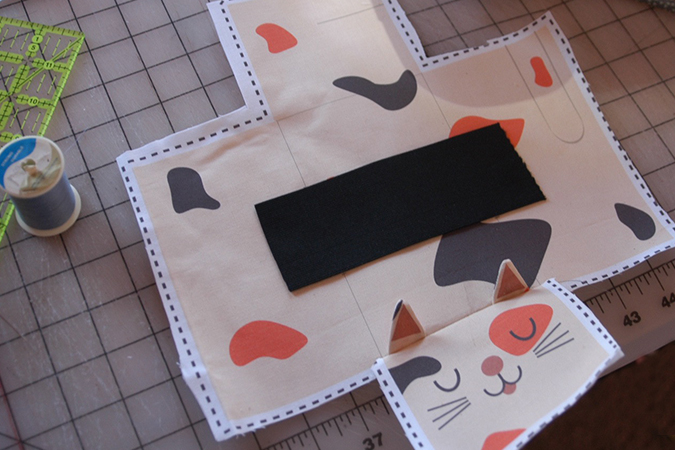
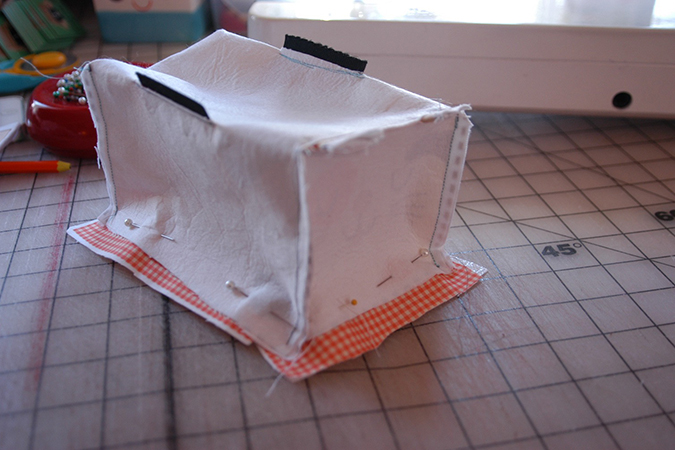
This cat I decided to turn into a door stop, but you could omit the elastic handle and fill it with polyfil to have a little cat plush friend instead. I lined a piece of elastic up so it was centered on my cat and marked then cut two slits so the elastic could be sewn in place.
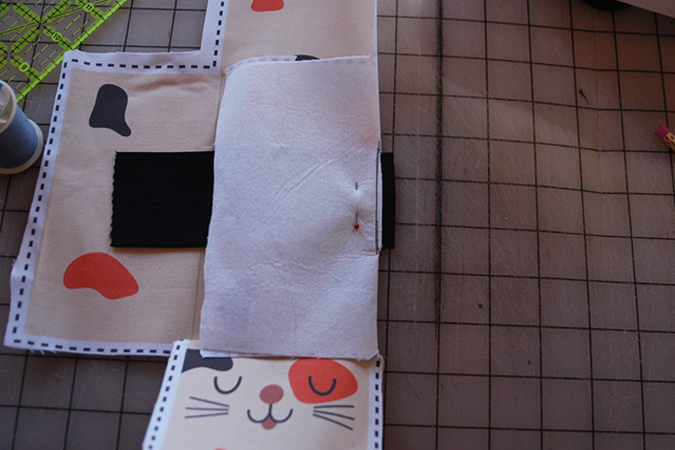 Then I slide the elastic into one slit, pinned in place and sewed. The did the same with the other side. I wanted to elastic to become a handle, so I didn’t sew it flat down across. I cut it so it would be long enough to make a loop above the cat, but you can change it up however you like.

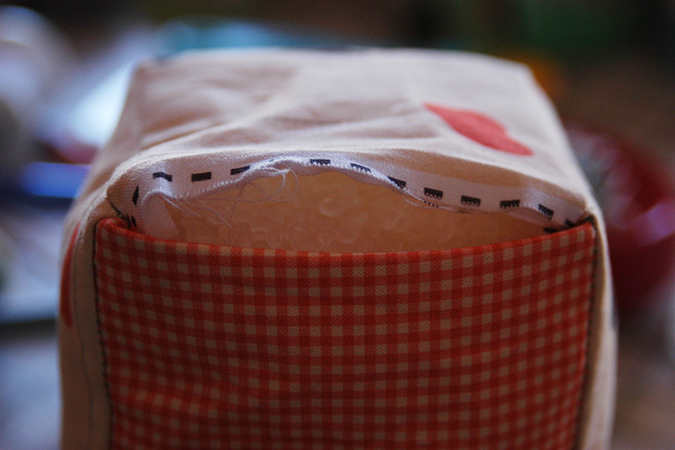
Once the elastic was sewn in place I sewed up the sides like we did on the previous cat. Now instead of creating fabric to go inside of the cat I took some scrap fabric to make the bottom.
I like my bottom fabric to be slightly bigger so I don’t need to worry about being precise. Then I pinned the bottom fabric in place on the side and face sections of the kitty. You will sew around these three areas, leaving the back of the cat open for filling.
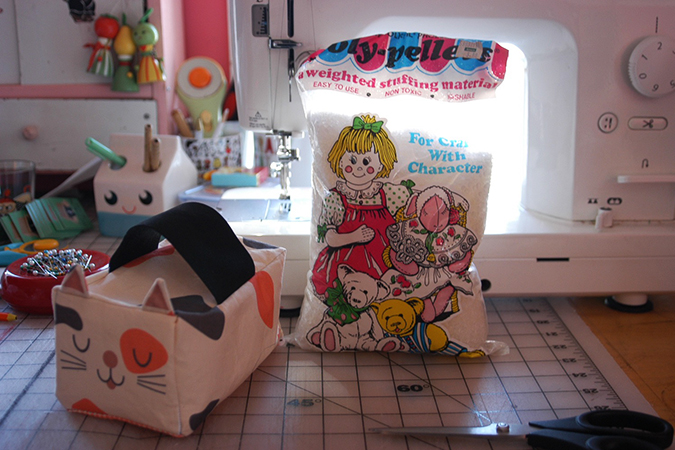
Turn your cat right side out and its time to fill. I used these plastic pellets, but if your door is heavy and you need something that is going to weigh down the kitty better you can use dry beans, rice, small pebbles, or even cat litter.
Then simply fill up your cat as much as possible and whip stitch the back opening closed.