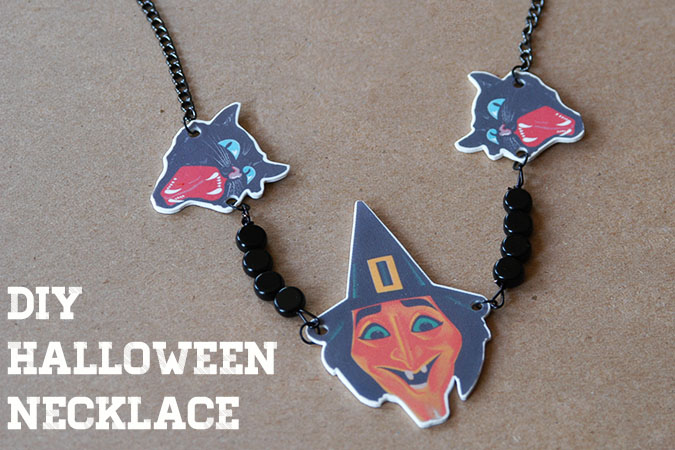
DIY Halloween shrink necklace
Here’s what you need:
–Inkjet Shrink Plastic
-chain
-jump rings (in a color that matches your chain..I went with blacks)
-general jewelry tools for opening jump rings
-hole punch
-scissors
-clear spray sealant
-Halloween images sheet 1 and sheet 2
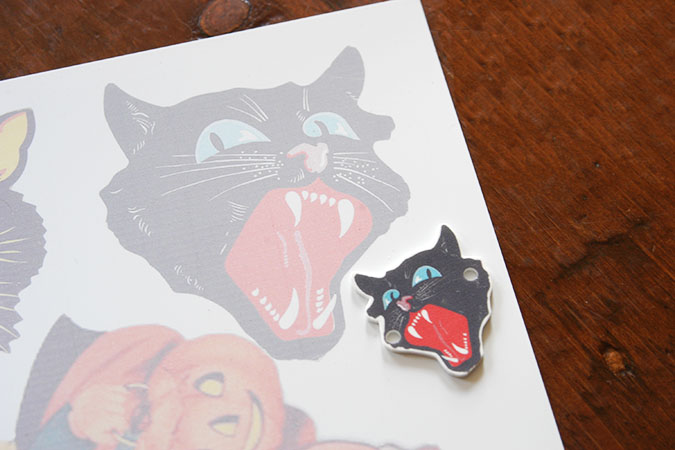
1. Print out each sheet onto your inkjet shrink plastic. You’ll notice that the images look washed out, this is because during shrinking the images become darker.
2. Use your scissors to cut out each image, and play around with layout for your necklace. Before you punch any holes you want to decide if your image is going to hang from the top, sides, etc.

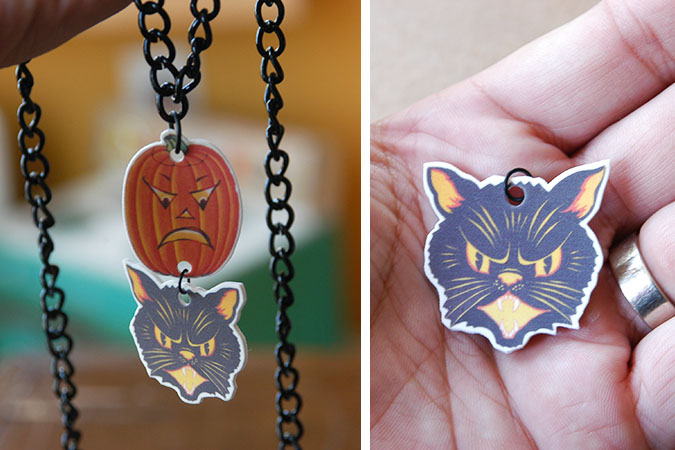
3. Use hole punch to punch holes. I know they look big, but they shrink a lot.
4. Follow the instructions on your inkjet shrink paper to shrink your images. Allow to cool.
5. Spray each image with clear coat and allow to dry, otherwise water can make the colors run even after shrinking.
6. Attach jump rings and chain, you can get really fancy connecting multiple images with jumps rings, or just add one jump ring to the top, slide it on a chain and you’ve got a necklace.