Paper Pumpkin DIY
Please feel free to make a pumpkin or two for your holiday decorating. Just please remember this DIY is for your own personal use and may not be sold, or changed in any way.
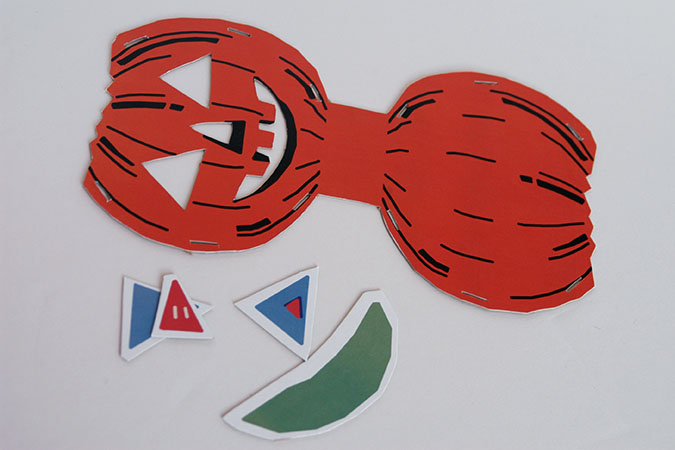
1. First print out the jack o’ lantern there will be two pages.
2. I used my Xyron XM1255 to create a permanent adhesive on the backs, you can also use spray glue. Then attach your pumpkin sheets to card stock.
3. Use an x-acto knife to cut your pumpkin out. For the side pieces leave them as long as possible for now, it makes it easier to assemble.


4. Next attach the face pieces behind, my favorite kind of glue to use on paper projects is 3m Scotch Quick-dry Tacky Adhesive

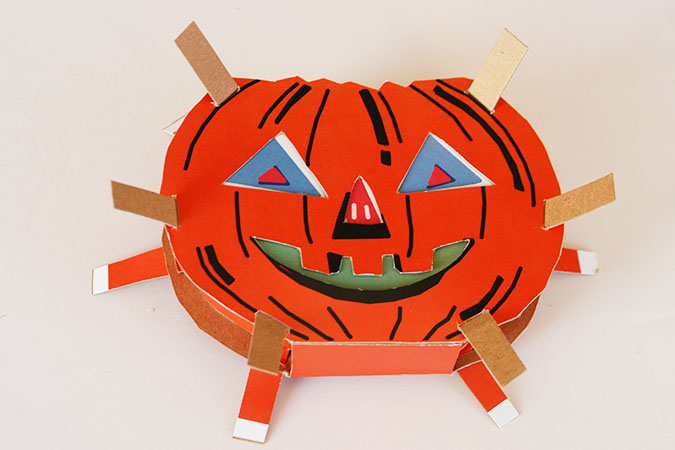
5. Once dry you are going to feed your side pieces through. The longest part sits against the bottom, and then you just carefully pull each long strip through the cut holes.
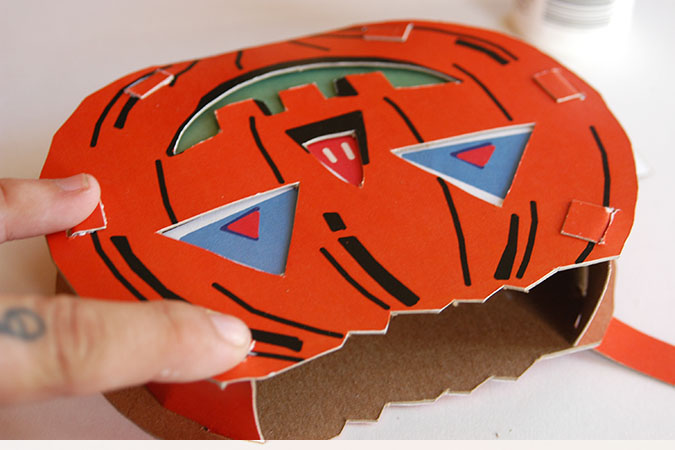
6. Next one by one you will trim the strip and glue it down to the pumpkin. Hold each strip end down until it dries (it will be quick with the scotch glue)

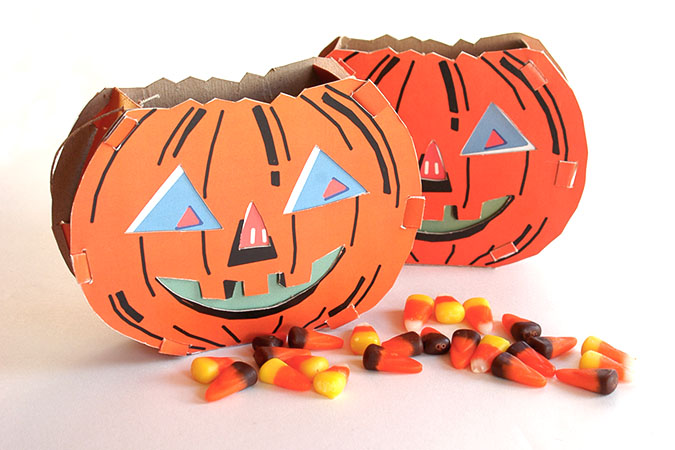
You can punch little holes near the top and add a string or wire handle, fill it with some tricks & treats and you are good to go! If you make one, please post a link-I’d love to see!