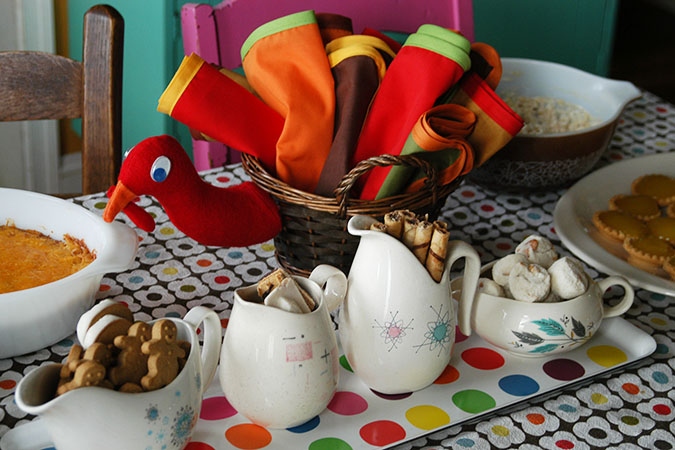
Jo-Ann “Celebrate the Season” Turkey Napkin Basket DIY

orange felt– you only need a very small piece for the turkey beak
red felt– this is for the turkey head & waddle
wiggly eyes-there are so many eyes to choose from, you can really give your turkey a fun personality depending on the eyes you pick.
extra wide double bias tape-this is used as trim around the turkey feather napkins so I went with fall colors.
broadcloth-this is what you’ll use to make your napkins. I had my fall colors cut into 3/8ths of a yard. Then at home I was able to cut this down to create 2 square napkins from each color, with some leftover. I cut my napkins to 13×13 inches but you can make them as large or small as you’d like.
hot glue gun
sewing machine
coordinating threads
scissors
scrap cardboard this could be from a cereal box etc.
turkey pattern
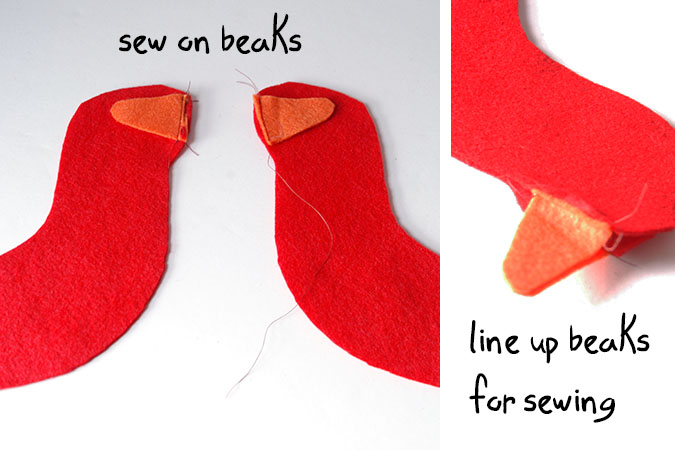
2. Now line up your beaks and sew around the outside of your head. Leave the bottom of the neck open.


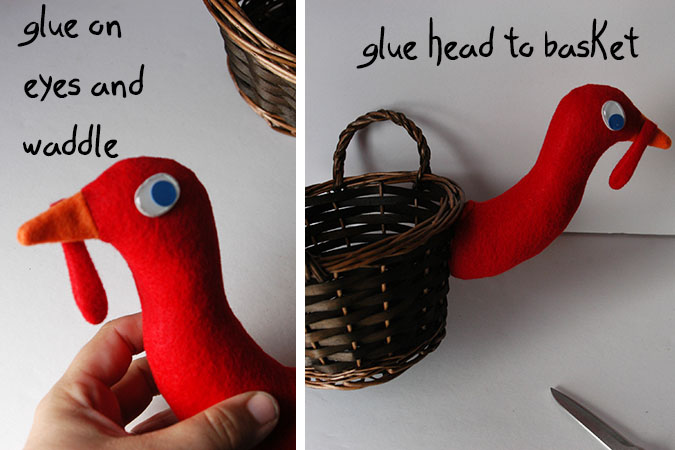
6. Once the head is glued in place you will notice it will make the basket heavy and it will want to tip to that side. Now once the napkins are inside that won’t happen, but as your guests take napkins your turkey will start to top again. You can weight the bottom of your basket by gluing a few pennies in the bottom, but I just used hot glue, and then covered the glue with a circle of cardboard cut from a cereal box. The cardboard circle could also be used to hide any pennies.
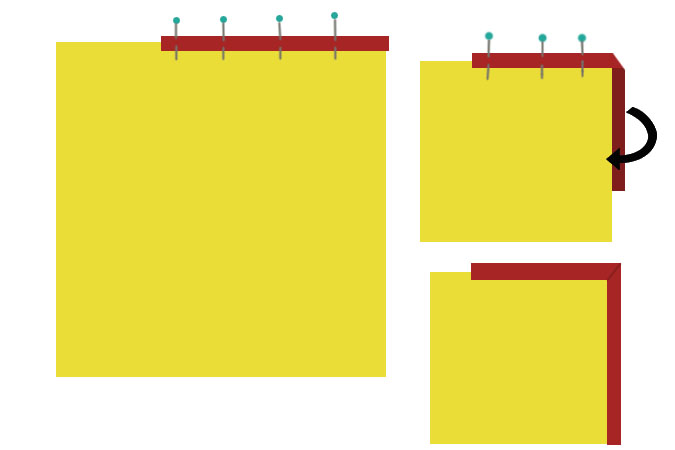
8. You’ll notice the bias tape opens up like a folder, so you can easily pin it in place around the edge of your napkin. When you get to the corners refer to the drawing above. Pin your binding until you get close to the corner, then fold binding downwards to form the corner.
9. Then fold binding around the corner and pin into place. Continue the entire way around your napkin, when you get to the end cut the seam binding so it overlaps the beginning of your seam binding.
10. Use sewing machine and matching thread to sew in place around the entire edge of binding. Repeat for each napkin.
You can download a coupon for 50% off a regular priced item for Joanne here.