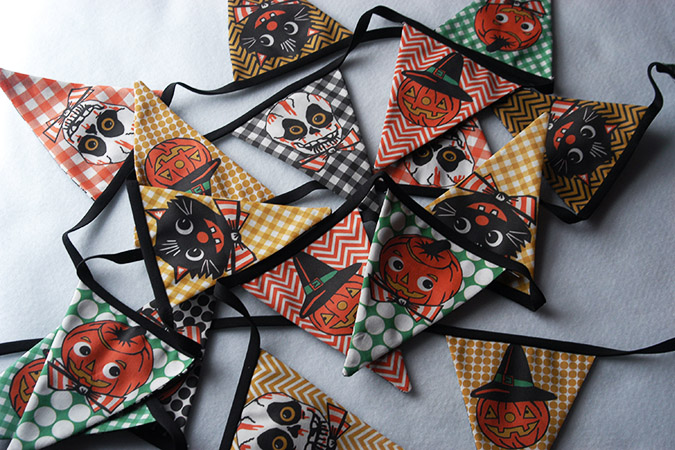

I was going to save all this for September (ya know a little closer to Halloween) but
my fabric arrived and a few people have purchased it on Spoonflower, so I wanted to post the instructions so anyone who wants to make a Halloween bunting can get it done in plenty of time for Halloween decorating. You can purchase
the fabric here. It is designed to be printed on a fat quarter and I ordered my on Kona cotton.

1. Once your fabric arrives cut your triangles out leaving extra white fabric around each triangle (this will be cut off later) Choose a backing fabric, and to make it easiest to sew cut these pieces larger then your bunting triangles (like the photo above on the left). It’s easy to see the design through the wrong side of the fabric, stitch along the design on either side leaving the top open. Trim the sides only (leave the top area long for now) and turn right side out.
2. Once your triangles are all sewn and turned right side out, iron them flat.

3. Now take some double fold bias tape (I used 1/4″ wide in black 4 yards) Open the bias tape up as pictured and pin in place so the edge of the bias tape lines up with the edge of your design.
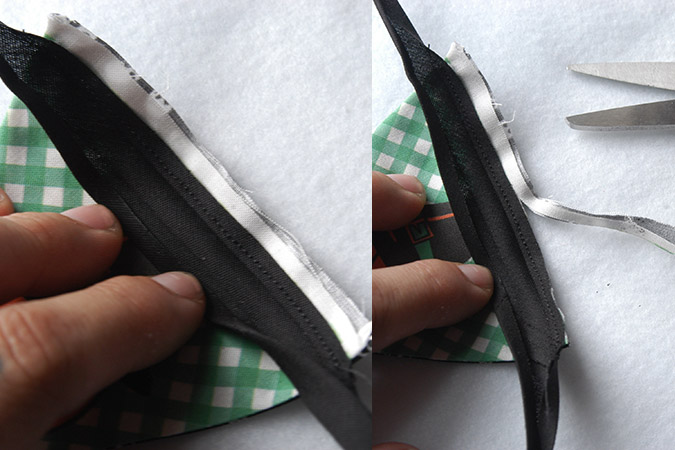
4. Now stitch along that pinned area, and then cut off the excess fabric.

5. Once stitched in place and the bias tape is folded back around you’ll see how the stitches are all hidden.

6. You can either stitch across all the bunting with black thread once all the bunting are attached, or (as I did) use some fabric glue to adhere the bias tape to the back of each bunting triangle.
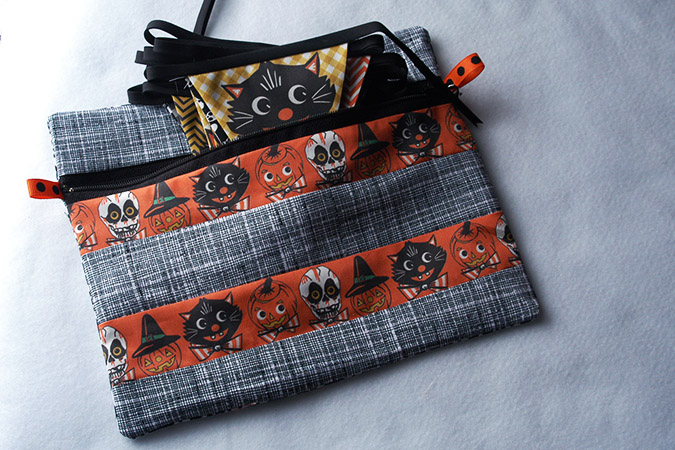
You’ll notice there is some silly characters at the bottom of the fabric featuring the same characters. I hate to print up fabric with a strip of white fabric, so I added this for fun. I used mine as stripes on a little storage bag for my bunting. This way while it’s all stitched up in time for Halloween, I can keep it safe and sound in between the holiday.