
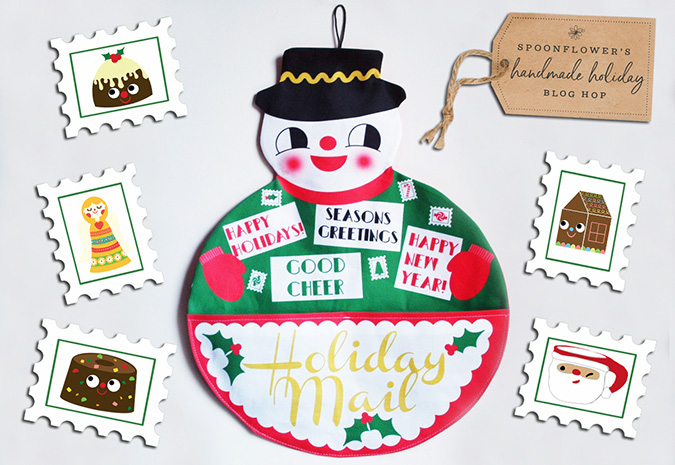
Spoonflower asked me to take part in their Handmade Holiday Blog Hop by creating a holiday project to share. Inspired by vintage holiday mail bags made of felt I created a cut and sew mail bag that you can use to either store all those holiday cards as they arrive, or to hold your own holiday mail writing tools (cards, stamps, envelopes etc) You can find
my design here, and Spoonflower is offering 10% off with the code
PaperCrane and is valid until December 31 for one order of fabric, wallpaper and gift wrap. It can not be applied with any other promotional offers.
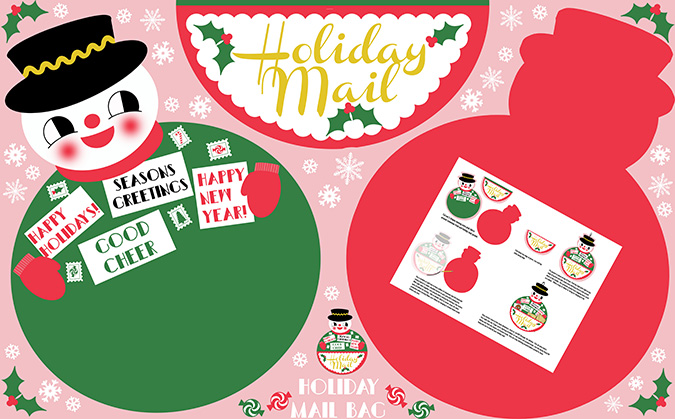
My project is designed to print up on a fat quarter of lightweight cotton twill. When your fat quarter arrives it will look like what you see above. While there are instructions printed on the fabric itself, I wanted to walk you through the process here so you can see just how easy it is.

The first thing you will do is cut out all three pieces. Front, back, and pocket. I like to leave some of the pink around the front and pocket so you can sew right on the edge of the illustration. There is no need to leave any extra around the backing piece since its slightly larger then the design.
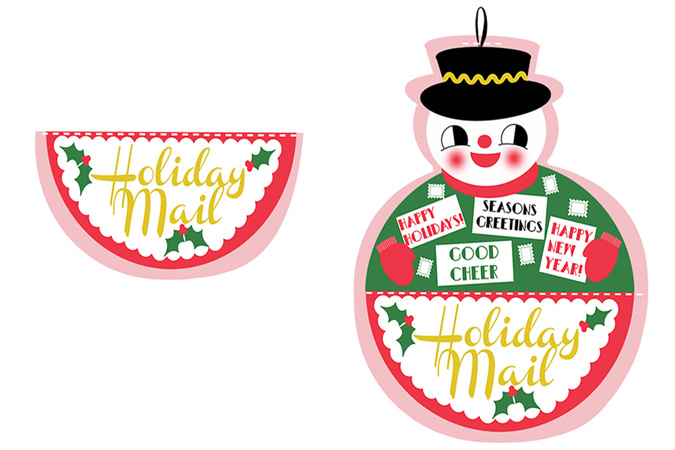
Take pocket and iron the top of pocket down at the green line (green will be on inside of pocket) Then top stitch across top as shown. Now use a piece of ribbon, or cord and make a loop to hang your snowman mail bag. Stitch this in place at top of hat. I like to stitch this in the pink area so the stitching will be hidden once sewn. Then line your pocket up on front of bag using sides as a guide. Pin pocket in place and you’ll notice a small line in center of pocket along the area you topstitched. Sew a few stitches to tack the bag in place, this way when you put in your cards and envelopes the pocket does not hang open.
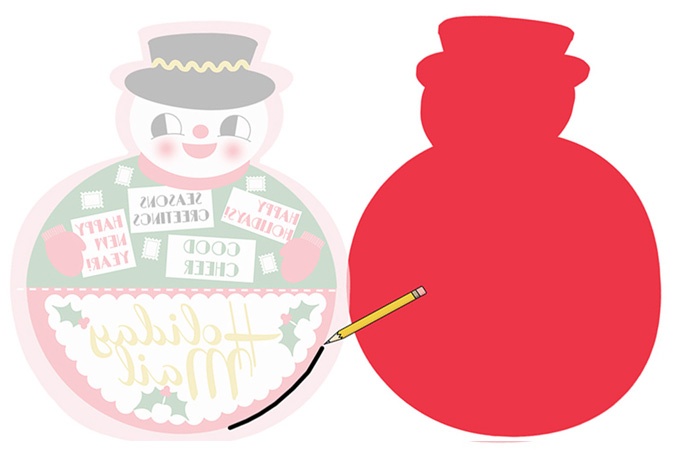
With right sides facing once another lay the front of the bag on top of the red backing. I like to use a pencil to trace any of the illustration edges that are not easy to see through the fabric. Mostly around the face. Pin in place and sew around entire thing on edge of illustration leaving a 3 inch opening in bottom for turning. I like to pay special attention to curves and do a little extra stitching so that when I trim and turn they lay flat. Trim around entire bag with pinking shears and turn right side out.

Tuck in raw edges of fabric from turning, iron in place, and then top stitch along entire curved edge of pocket sewing the opening shut. Now you are ready to hang your holiday mail bag.